
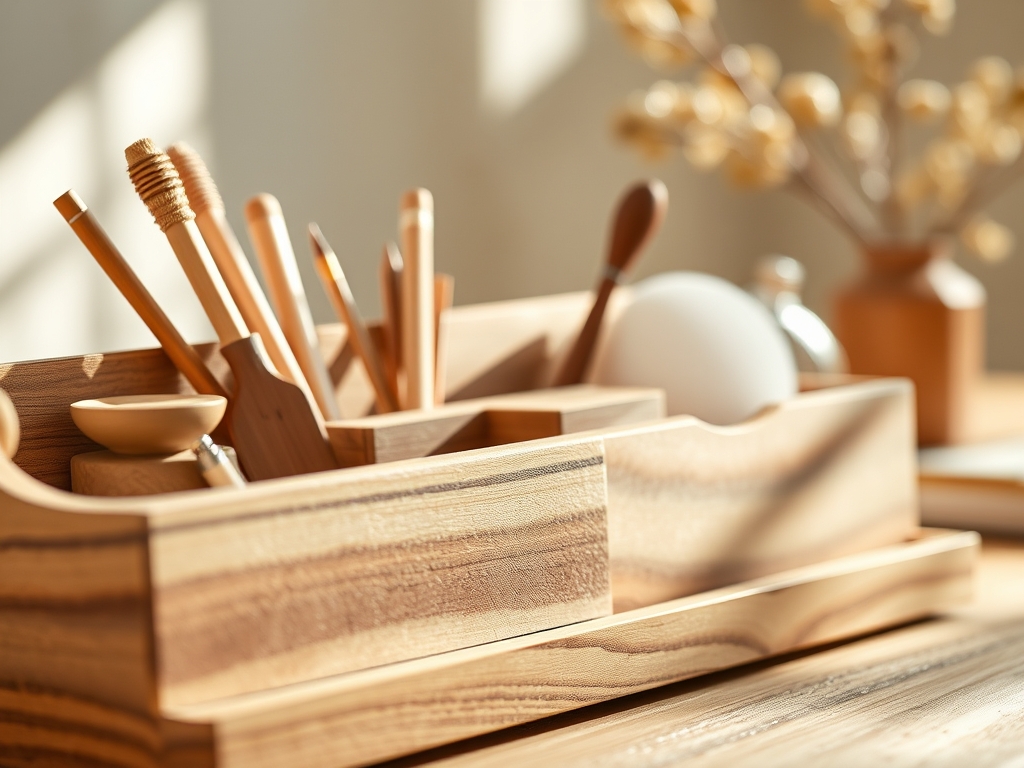
The scent of freshly milled black walnut hits you before you even touch the grain; it is earthy, rich, and slightly sweet. When you run your thumb across a raw plank, you are feeling the cellular structure of the tracheids, the microscopic straw-like tubes that once transported water through the tree. Building Custom Wood Desk Organizers is not just about tidying up a workspace; it is about mastering the physics of fiber density and moisture content. We are looking for that perfect balance of weight and warmth. You want a piece that feels substantial enough to resist the kinetic energy of a moving drawer but smooth enough to invite a tactile connection every time you reach for a pen. The goal is a seamless integration of utility and art. We are going to manipulate the tensile strength of hardwood to create slim, elegant dividers that defy the clutter of a modern office. Put on your apron and grab your calipers; we are about to turn raw timber into a masterpiece of organizational engineering.
THE STUDIO KIT
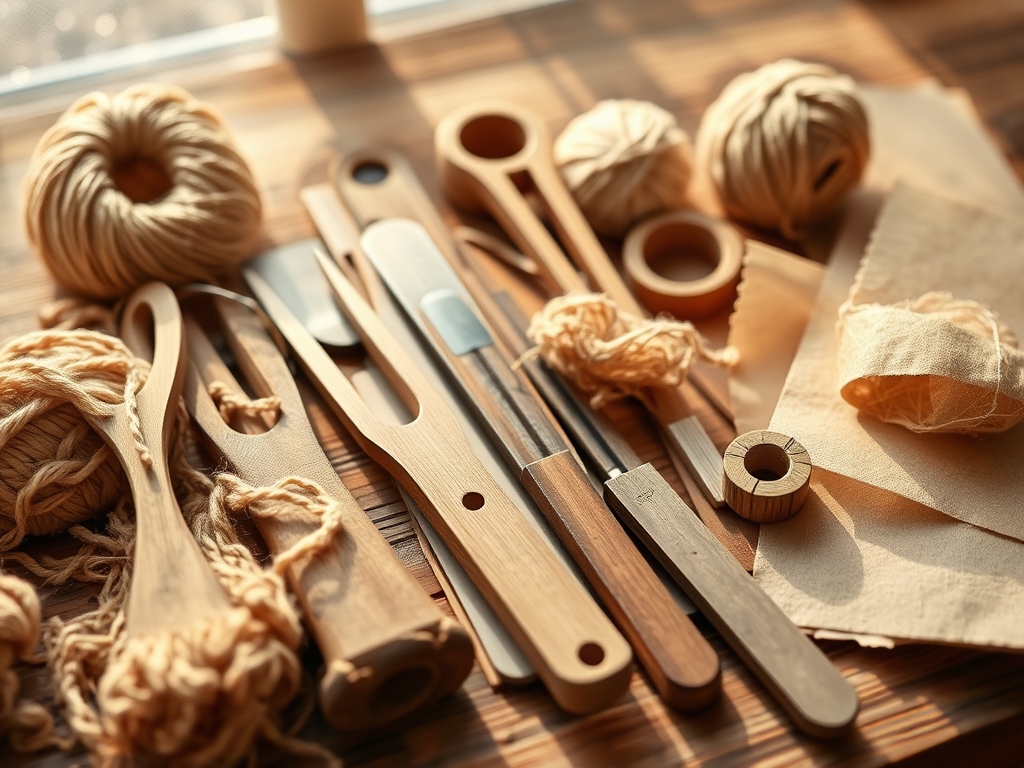
To execute these designs, you need tools that respect the porous nature of the medium. Start with a high-quality Japanese pull saw for precision cuts; the thin kerf minimizes material waste and provides a cleaner finish than standard Western saws. You will also need digital calipers to measure the thickness of your stock to the nearest thousandth of an inch, ensuring your joints are snug. A marking awl is essential for scoring the wood fibers before you cut, which prevents tear-out. For finishing, gather several grits of sandpaper ranging from 80 to 400, and a burnishing tool to compress the fibers for a glass-like sheen.
Material Substitutions: If black walnut is outside your budget, hard maple offers incredible density and a bright aesthetic. For a sustainable alternative, consider bamboo ply, which boasts a high strength-to-weight ratio and a unique end-grain pattern. Avoid softwoods like pine for thin slots, as the lower lignin content makes them prone to snapping under the pressure of heavy office supplies.
THE TEMPO
The "Maker's Rhythm" is all about respecting the drying times and the physical limitations of the wood. Total project time usually spans 48 hours, though active labor is closer to six.
Phase 1: The Selection (1 Hour). Spend time analyzing the grain direction. You want straight-grain sections for structural walls to prevent warping.
Phase 2: The Milling (2 Hours). This is the high-energy phase where you cut, plane, and sand your components to exact specifications.
Phase 3: The Assembly (1 Hour). Applying adhesive requires speed and precision before the glue begins to tack.
Phase 4: The Curing (24 Hours). This is the silent phase. The polymer chains in the wood glue need time to cross-link with the cellulose fibers.
Phase 5: The Finishing (2 Hours). Multiple coats of oil require patience to ensure even absorption and a durable protective layer.
THE CORE METHOD
1. The Cantilevered Pen Cradle
Start by milling a solid block of wood to four inches in length. Using a drill press and a 1/2-inch Forstner bit, create a series of shallow depressions at a 15-degree angle. This angle is crucial for the ergonomic retrieval of your writing instruments.
Mastery Tip: The science here is all about the center of gravity. By angling the slots, you shift the weight of the pen over the base of the organizer, preventing the unit from tipping when a heavy fountain pen is inserted.
2. The Tech Docking Channel
Measure the thickness of your tablet or phone using your calipers. Cut a groove into your base plate that is exactly 0.05 inches wider than the device. Use a router table with a straight bit to ensure the walls of the slot are perfectly vertical.
Mastery Tip: This relies on frictional resistance. If the slot is too wide, the device will lean and create a leverage point that could crack the wood. A precise fit distributes the load evenly across the grain.
3. The Dovetail Stationery Slot
For your envelopes and notebooks, create a wide slot using a dovetail saw. This joint is famous for its tensile strength. The interlocking "tails" and "pins" create a mechanical bond that resists being pulled apart, even without glue.
Mastery Tip: Wood is an anisotropic material, meaning it has different properties in different directions. By using a dovetail, you are locking the boards against their natural tendency to cup or bow over time.
4. The Hidden Magnetized Paperclip Well
Carve a small, circular depression in the corner of your organizer. Inset a rare-earth neodymium magnet into the bottom and cover it with a thin veneer. This creates a "magic" spot where paperclips stick to the wood surface.
Mastery Tip: This utilizes magnetic flux through a solid medium. The veneer must be thin enough (less than 1/16th of an inch) to allow the magnetic field to penetrate the wood fibers without losing too much pull force.
5. The Modular Expansion Groove
Cut a T-track style groove along the side of your main organizer. This allows you to slide in secondary modules like a sticky-note holder or a business card display. Use an oscillating tool for fine adjustments to the fit.
Mastery Tip: This design accounts for hygroscopic expansion. Wood swells and shrinks with humidity. By using a T-track, you provide enough clearance for the wood to breathe without the attachment becoming loose or rattling.
THE TECHNICAL LEDGER
Maintenance & Longevity: To keep your Custom Wood Desk Organizers in peak condition, apply a fresh coat of butcher block oil or beeswax every six months. This replenishes the lipids in the wood and prevents the fibers from becoming brittle.
Material Variations:
- Sustainable: Reclaimed oak from old barns offers a high Janka hardness rating and a storied patina.
- Premium: Exotic woods like Wenge or Zebrawood provide striking visual contrast and extreme density.
The Correction:
- The Gap: If a joint is loose, mix fine sawdust from your project with wood glue to create a structural filler that matches the color perfectly.
- The Burn: If your router bit leaves a burn mark, it is due to friction-induced carbonization. Remove it with 120-grit sandpaper and a light touch; do not try to sand it out with high speed, or you will create a dip.
- The Warp: If a board cups, dampen the concave side slightly and clamp it flat. The capillary action will pull the fibers back into alignment as they dry.
Studio Organization: Store your unfinished wood in a horizontal position in a climate-controlled area. Storing it vertically can lead to permanent bowing due to the weight of the wood acting against its own structural integrity.
THE FINAL REVEAL
Look at that! You have successfully navigated the complexities of timber physics to create something truly functional. The way the light catches the chatoyancy of the grain is breathtaking. Your Custom Wood Desk Organizers are more than just boxes; they are a testament to your precision and your respect for the material. The slots are crisp, the joints are tight, and the finish is buttery smooth. Every time you sit down to work, you will feel that spark of "maker's joy" knowing you built this from the fiber up. It is time to clear the sawdust and let your new organizers take center stage on your desk.
STUDIO QUESTIONS
What is the best wood for desk organizers?
Hardwoods like walnut, maple, or cherry are ideal due to their high lignin density. These species resist denting and hold fine details in custom slots better than softwoods, ensuring your organizer lasts for decades in a busy office.
How do I prevent wood from splitting when cutting thin slots?
Always use a marking awl to pre-score the wood fibers. This severs the surface tension of the grain, allowing the saw or router to cut through cleanly without catching and shattering the delicate walls of the organizer slots.
Can I make these without power tools?
Absolutely. Using a jeweler's saw and a set of sharp chisels allows for extreme precision. While it takes longer, the manual control prevents the heat-related friction damage often caused by high-speed power tools on dense hardwoods.
How do I finish the wood so it is not greasy?
Apply a drying oil like Tung or Linseed oil. Unlike mineral oil, these undergo a chemical reaction called polymerization when exposed to oxygen, creating a hard, dry, and protective film that will not transfer to your paperwork.
What is the ideal slot width for a phone?
Measure your device with digital calipers and add exactly 1.5 millimeters. This accounts for the thickness of a standard protective case while maintaining enough structural support to keep the device upright without putting stress on the wood grain.

