
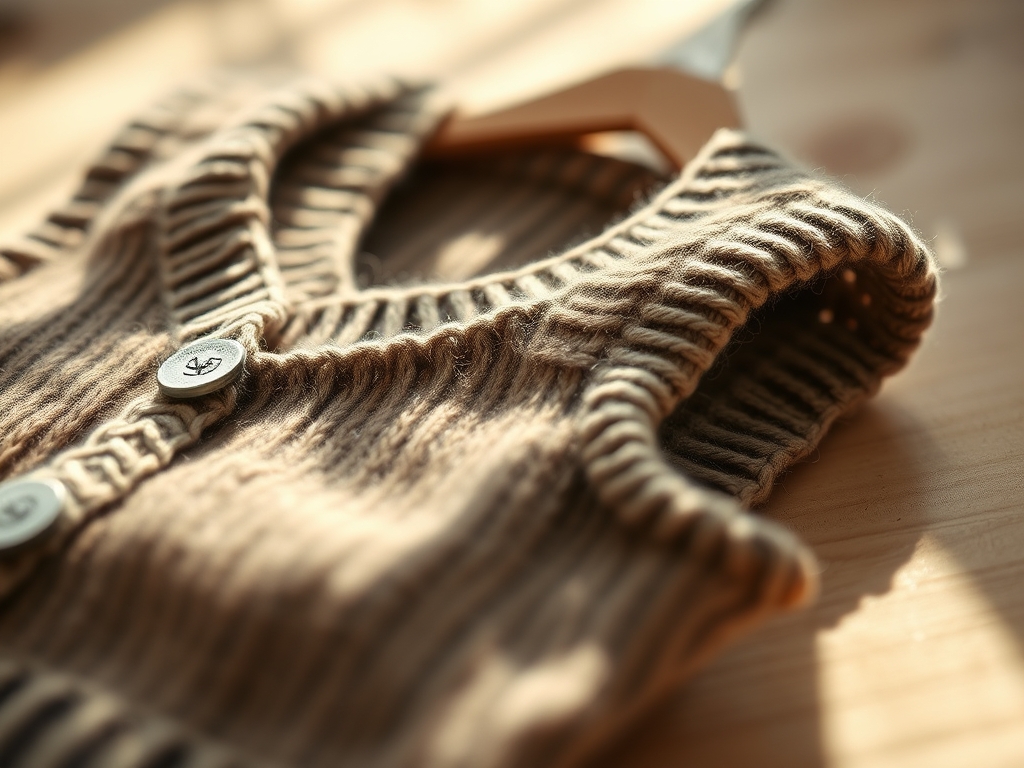
Imagine the scent of raw sheep wool hitting the crisp morning air as you pull your favorite needles from their leather roll. There is a specific, electric friction that happens when high-quality fiber slides against polished steel. We are not just making clothes; we are engineering wearable architecture. As the leaves turn gold, the demand for Personalized Knitted Vests skyrockets because they offer the perfect thermal regulation for transitional weather. You can feel the tensile strength of the yarn as you tension it over your index finger. It is a tactile conversation between your hands and the organic material. This project is about more than just loops; it is about the structural integrity of the garment and the way it drapes over your shoulders. We are diving into eight vintage-inspired patterns that utilize classic cables, fair isle motifs, and ribbing techniques to create something that feels like a hug but looks like a masterpiece. Grab your coffee; we are about to turn string into high-fashion armor.
THE STUDIO KIT
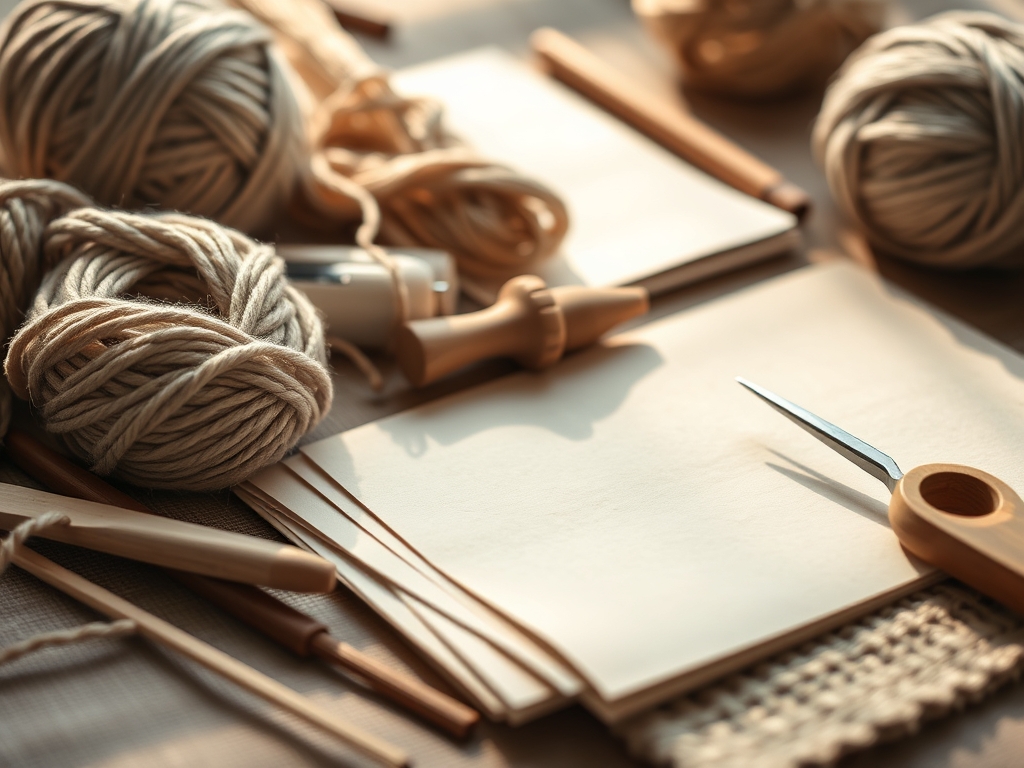
To execute these Personalized Knitted Vests with professional precision, you need more than just a ball of yarn. You need a curated arsenal. Start with a set of ergonomic circular needles made of surgical-grade stainless steel; the slick surface reduces drag and prevents hand fatigue during long sessions. You will also need a digital caliper to measure your gauge with mathematical accuracy. A standard ruler can lie, but a caliper tells the truth about stitch density.
Your material choice is the foundation of the project. I recommend a high-twist worsted wool for its incredible elasticity and stitch definition. If you have sensitive skin, a merino-silk blend offers a luxurious luster and superior drape. For material substitutions, consider a cotton-linen blend if you live in a warmer climate; however, be aware that plant fibers lack the memory of animal proteins, meaning your ribbing might lose its snap over time. Always keep a small awl or a crochet hook nearby to rescue dropped stitches, and a sharp pair of rotary snips for clean fiber cuts that prevent fraying.
THE TEMPO
The "Maker's Rhythm" is a psychological state where the repetitive motion of the needles aligns with your heart rate. This project follows a specific chronological arc. The Swatching Phase takes about two hours; do not skip this, or your vest will end up sized for a giant or a kitten. The Foundation Phase, which involves casting on and establishing the hem ribbing, takes roughly four hours of deep focus.
The Body Ascent is the longest stretch, requiring fifteen to twenty hours of steady work. This is where you find your flow. Finally, the Detailing Phase, which includes shaping the armholes and the V-neck, requires another six hours of high-concentration engineering. Total construction time for one of these Personalized Knitted Vests usually clocks in at thirty hours. If you dedicate an hour an evening, you will be wearing your vintage creation in exactly one month.
THE CORE METHOD
1. The Gauge Swatch Calibration
Before you touch the actual garment, you must knit a four-inch square. This is not a suggestion; it is a thermal and structural requirement. Wash and block this swatch exactly as you will the finished vest.
Mastery Tip: This process accounts for hydroscopic expansion. Natural fibers can expand up to ten percent when wet. By measuring the swatch post-blocking, you ensure the final garment maintains its intended dimensions after its first wash.
2. The Tubular Cast-On
For a professional, store-bought look on your Personalized Knitted Vests, use a tubular cast-on. This method creates a rounded, seamless edge that looks like the stitches wrap around the bottom of the hem.
Mastery Tip: This technique utilizes structural elasticity. Unlike a standard long-tail cast-on, the tubular method allows the edge to stretch to double its width without snapping the yarn, providing maximum comfort at the hip.
3. Establishing the Cable Architecture
Vintage patterns often feature intricate cables. Use a cable needle to cross stitches over each other, creating a three-dimensional texture. Ensure your tension remains consistent to prevent the fabric from puckering.
Mastery Tip: Cables increase the fabric density and decrease the width of the knitted piece. You must calculate the "draw-in" factor; a cabled panel requires more stitches than a flat stockinette panel to cover the same horizontal distance.
4. The Armhole Decrease
Shaping the armholes requires a series of decreases (SSK or K2Tog). This creates the curve necessary for ergonomic movement. Use your digital caliper to ensure the left and right sides are perfectly symmetrical.
Mastery Tip: This step manages torsional stress. By decreasing stitches at a specific rate, you redirect the grain of the fabric to follow the natural contour of the human shoulder, preventing the vest from "hiking up" during wear.
5. The V-Neck Precision Split
The hallmark of a vintage vest is a sharp V-neck. You will split the work in half and work each side separately. Use a locking stitch marker to identify the center stitch, which will eventually be the base of your neckline ribbing.
Mastery Tip: Use short-row shaping for the shoulder slants. This prevents "stair-stepping" on the seams and ensures the shoulder seam sits flat against the collarbone, distributing the weight of the garment evenly.
6. The Picking Up Stitches Phase
Once the front and back are seamed using a Matthews stitch, you will pick up loops around the neck and armholes to knit the ribbing. This is where the vest truly becomes "personalized."
Mastery Tip: Use a needle one size smaller for the ribbing. This creates a higher surface tension, ensuring the neckband stays snug against the body and does not "flare out" after repeated wearings.
THE TECHNICAL LEDGER
Maintenance & Longevity: To keep your Personalized Knitted Vests in heirloom condition, never hang them on a wire hanger. The weight of the wool will cause the shoulders to deform under gravity. Instead, fold them loosely and store them in a cedar chest or a breathable cotton bag.
Material Variations:
- Sustainable: Use reclaimed wool from unraveled thrift store sweaters.
- Recycled: Look for "tweed" yarns made from pre-consumer textile waste.
- Premium: Qiviut or Vicuna fibers offer unparalleled warmth-to-weight ratios.
The Correction:
- The Sagging Hem: If your ribbing is too loose, thread a thin strand of transparent elastic through the back of the stitches to restore the snap.
- The Twisted Stitch: If one stitch looks tighter than the rest, use a bone folder to gently massage the surrounding fibers into place, redistributing the tension.
- The Pilling Problem: Use a battery-operated fabric shaver or a specialized wool comb to remove pills. Pilling is caused by friction breaking the surface fibers; removing them restores the clean "grain" of the yarn.
Studio Organization: Store your yarn in clear, airtight bins organized by weight and fiber content. Use silica packets to prevent moisture buildup, which can lead to mildew or fiber degradation over time.
THE FINAL REVEAL
There is nothing quite like the moment you weave in that final yarn tail and slip your new creation over a crisp button-down shirt. The Personalized Knitted Vests you have just engineered are more than just fashion; they are a testament to your technical skill and aesthetic vision. The way the vintage cables pop against the autumn sunlight and the snug fit of the custom-shaped armholes prove that you are no longer a hobbyist; you are a master of the craft. These vests are designed to last for decades, becoming more comfortable with every wear as the fibers felt slightly and mold to your unique frame. Go out there and rock your handmade luxury!
STUDIO QUESTIONS
How do I choose the right size for a vest?
Measure your favorite t-shirt with a caliper or tape measure. Match those dimensions to the pattern's "finished chest measurement." Account for two inches of positive ease for a comfortable, vintage fit that allows for layering over shirts.
What is the best yarn for a vintage look?
Choose a heathered wool or a yarn with "tweed" flecks. These variations in color mimic the traditional spinning methods of the early 20th century, providing a rich, textured appearance that highlights complex cable patterns and traditional ribbing.
Can I use acrylic yarn for these vests?
You can, but acrylic lacks thermal breathability. Synthetic fibers trap heat and moisture, which can lead to discomfort. For the best structural integrity and long-term wear, a natural animal fiber or a high-quality blend is always superior.
How do I fix a hole in my knitted vest?
Use a technique called duplicate stitching. Thread a tapestry needle with matching yarn and follow the path of the original stitches over the damaged area. This reinforces the tensile strength of the fabric while remaining virtually invisible to the eye.

