
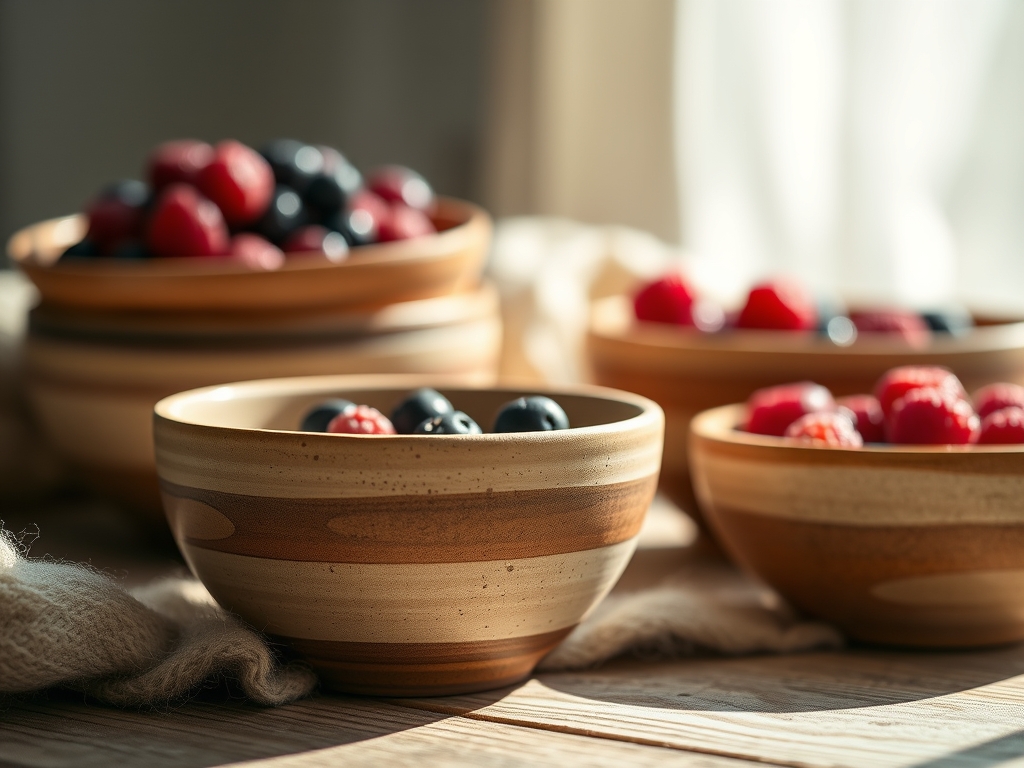
Picture the cool, heavy weight of a fresh wedge of stoneware clay resting against your palm. There is a specific, visceral thrill that comes from centering a three pound mass on a spinning wheel. As the water lubricates the surface, creating a slick slurry known as slip, you feel the raw physics of centrifugal force fighting against the strength of your own forearms. We are crafting Hand Thrown Berry Bowls today; those essential, perforated vessels designed to cradle summer harvests while allowing water to escape with mathematical precision. The goal is to balance the aesthetic of a handmade piece with the high performance utility of a colander. You want a foot ring that elevates the base, ensuring air circulation prevents your raspberries from turning to mush. It is a dance between the porous nature of the clay and the structural integrity required to survive a high fire kiln. Every movement must be intentional. If you pull the walls too thin, the drainage holes will cause the structure to slump. If you leave them too thick, the bowl feels clumsy and retains too much heat.
THE STUDIO KIT
To master this build, you need a kit that respects the tensile strength of your medium. Start with a mid fire stoneware clay body containing a fine grog for stability. You will need a standard potter's wheel, a toggle wire cutter for reclaiming the piece from the bat, and a metal rib to burnish the exterior walls. For the holes, a sharp hole punch tool or a specialized drill bit is non negotiable. You cannot simply poke holes with a needle tool; that displaces the clay and creates jagged burrs that trap bacteria.
Material Substitutions: If you lack a professional hole punch, a brass tube or even a sturdy metal straw can work, provided you sharpen the edge to ensure a clean shear. If you are working with porcelain instead of stoneware, increase your wall thickness by ten percent to account for the higher rate of pyrometric shrinkage during the firing process. Always keep a damp chamois cloth nearby to compress the rim; a compressed rim is less likely to crack under the thermal shock of a dishwasher.
THE TEMPO
The "Maker's Rhythm" for a berry bowl is dictated by the evaporation rate of the water trapped within the clay platelets. You cannot rush the transition from plastic to leather hard. The throwing phase takes approximately twenty minutes of focused, high energy shaping. Following this, the piece must sit for six to twelve hours depending on the ambient humidity of your studio.
Once the bowl reaches a leather hard state, where it feels like cold chocolate or stiff leather, you enter the trimming and punching phase. This takes another thirty minutes. The final drying stage, or the "greenware" phase, requires a slow, controlled descent over three days. If you dry the base faster than the rim, the differential shrinkage will create a S-crack in the bottom. Patience is your most technical tool here.
THE CORE METHOD
1. Centering and Opening the Floor
Begin by securing your clay to the wheel head. Use your body weight to push the clay into the center until it stops wobbling. When opening the floor, leave at least half an inch of clay at the bottom. This extra depth is vital because you will eventually trim a recessed foot ring to allow water to flow out from underneath the bowl.
Mastery Tip: This stage relies on centripetal force. By keeping your elbows tucked into your hips, you use your skeletal structure rather than muscle to stabilize the clay, ensuring a perfectly concentric form.
2. Pulling the Walls and Shaping
Gently pull the clay upward into a wide, flared cylinder. Use a wooden rib to transition the interior into a smooth, continuous curve. A flat bottom is the enemy of drainage; you want a gentle slope that directs every drop of water toward the center.
Mastery Tip: Observe the hydrostatic pressure of the clay. As you pull upward, the clay thins and becomes more susceptible to gravity. Keep the rim slightly thicker than the walls to act as a structural "hoop" that maintains the circular shape.
3. Trimming the Elevated Foot
Once the bowl is leather hard, flip it over on the wheel. Use a loop tool to carve away excess material, creating a distinct foot ring. This ring must be at least a quarter inch high. Without this elevation, the drainage holes would sit flush against the counter, creating a vacuum that prevents water from escaping.
Mastery Tip: Use your calipers to ensure the foot ring is wide enough to provide a stable center of gravity. A narrow foot on a wide bowl creates a tipping hazard when filled with heavy fruit.
4. The Geometry of the Nine Holes
Using a pencil, mark nine points on the floor of the bowl. Place one hole directly in the center and the remaining eight in a symmetrical circle around it. Use your hole punch to remove the clay plugs cleanly. Always punch from the inside out to keep the interior surface perfectly smooth for the delicate skins of the berries.
Mastery Tip: This layout utilizes capillary action principles. By spacing the holes evenly, you ensure that surface tension does not hold water in the "dead zones" between the perforations.
5. Finishing and Burnishing
Take a damp sponge or a silicone rib and smooth the edges of every hole. Any sharp edges will become "razors" after the glaze fire, which could slice into soft fruit or your fingers during cleaning. Burnish the entire surface to align the clay particles for a professional sheen.
Mastery Tip: Alignment of the grain occurs during burnishing. By pressing the surface particles down, you reduce the porosity of the greenware, making the final piece more durable and resistant to moisture penetration.
THE TECHNICAL LEDGER
Maintenance & Longevity: To ensure your berry bowl lasts for decades, avoid extreme thermal shock. Do not move the bowl directly from a refrigerator to a hot oven. Hand washing is preferred, though a well compressed stoneware piece is technically dishwasher safe. Check the drainage holes periodically for mineral buildup from hard water.
Material Variations:
- Sustainable: Use "reclaim" clay, which is recycled scraps from previous projects, to create a variegated, earthy look.
- Premium: Utilize a translucent porcelain body for a delicate, high end aesthetic, though be prepared for higher warping risks.
The Correction:
- The Slump: If the walls sag while punching holes, the clay is too wet. Solution: Use a heat gun to reach leather hard state faster.
- The Burr: If the holes are jagged, your tool is dull. Solution: Sharpen the punch with a fine file or use a damp brush to smooth the exit wound.
- The S-Crack: If the bottom cracks during drying, the floor was too thin or dried too fast. Solution: Cover the base with plastic while leaving the rim exposed to even out the drying rate.
Studio Organization: Store your leather hard pieces on a wooden bat or a plaster bat. These materials are hygroscopic, meaning they pull moisture away from the base of the bowl, helping the bottom dry at the same rate as the walls.
THE FINAL REVEAL
Look at that! Your finished Hand Thrown Berry Bowls are masterpieces of functional physics. The way the light hits the burnished curves and the rhythmic precision of those nine drainage holes makes the piece look like it belongs in a high end gallery. When you pour a pint of fresh blueberries into this vessel and run them under the tap, you will see the water cascade through the bottom with zero resistance. It is the ultimate marriage of form and function; a tactile, ergonomic tool that celebrates the bounty of summer fruit while standing as a testament to your technical skill.
STUDIO QUESTIONS
How do I prevent the holes from clogging with glaze?
Use a wax resist around the interior and exterior of each hole before dipping. If glaze fills a hole, use a small drill bit or a specialized needle tool to clear the obstruction while the glaze is still damp.
What is the best clay for a berry bowl?
A mid fire stoneware with fine grog is ideal. The grog provides the tensile strength needed to support the perforated floor, while the stoneware remains durable enough for frequent kitchen use and water exposure.
Can I make these without a pottery wheel?
Yes, you can use the slab building technique. Drape a rolled slab over a mold to create the curve, then use a compass to mark your hole placement. The physics of drainage remain the same regardless of the forming method.
Why nine holes specifically?
Nine holes provide the optimal balance between structural integrity and drainage speed. A central hole surrounded by eight others creates a stable "web" of clay that wont crack, while ensuring no water pools in the center.
How do I smooth the inside of the holes?
Wait until the clay is "bone dry" or very stiff leather hard. Use a damp, soft paintbrush to gently swirl inside each hole. This removes sharp burrs without deforming the circular shape of the perforation.

