
Imagine the scent of a high-end workshop on a rainy afternoon; it is that intoxicating mix of deep, earthy tannins and the sharp, metallic tang of a freshly stropped blade. When you run your hand over a premium hide, you are feeling the result of complex protein structures that provide incredible tensile strength. We are diving deep into the architecture of Custom Leather Toiletry Bags today because your travel gear should be as rugged as a mountain trail and as sophisticated as a corner office. These are not just pouches; they are engineered vessels designed to withstand the humidity of a bathroom and the crushing pressure of a packed suitcase. We are looking for that perfect balance between porous breathability and structural rigidity. By understanding how the grain direction influences the way a bag holds its shape, we can create something that looks better after five years of hard use than it did on the day you finished the final stitch.
THE STUDIO KIT
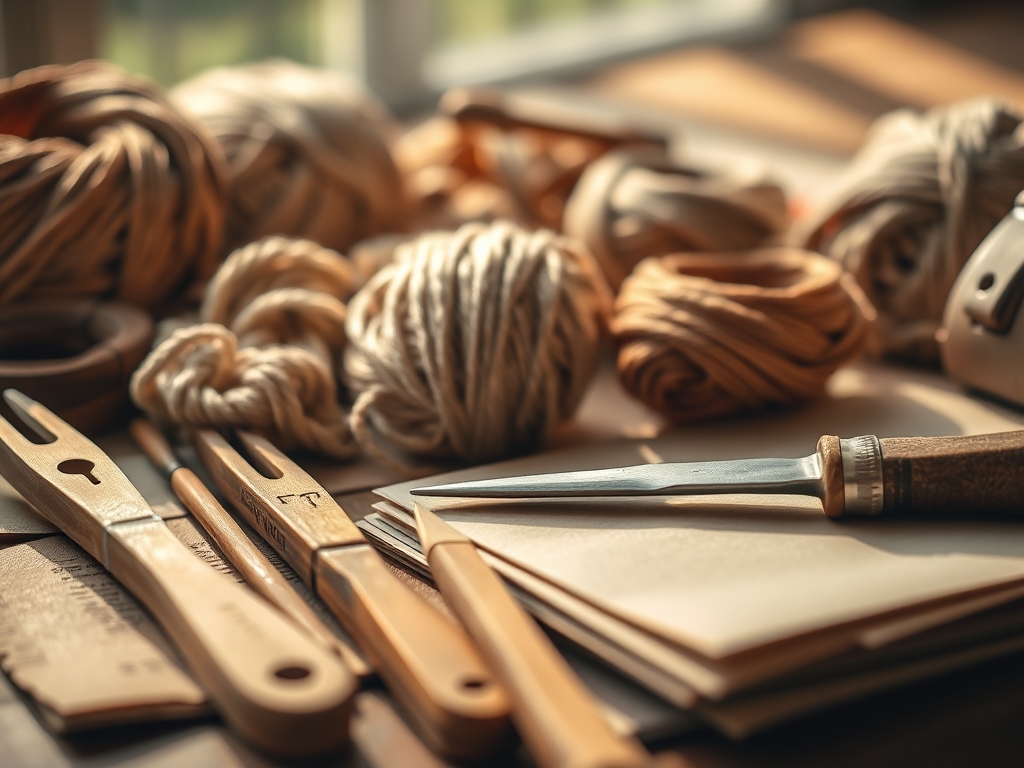
THE STUDIO KIT
To construct a masterpiece, you need more than just a needle and thread; you need a symphony of precision instruments. Our primary material is 4 to 5 ounce vegetable-tanned leather, chosen for its ability to take a permanent set when molded. You will need a rotary cutter for long, fluid lines and a set of digital calipers to ensure your seam allowances are accurate to the millimeter. For the assembly, grab a diamond-point awl, two harness needles, and 0.8mm waxed polyester thread. This thread has a high denier count, ensuring it won't snap under the stress of a bulging kit.
If you cannot source traditional cowhide, consider Material Substitutions like cork fabric or heavy-duty waxed canvas. While these lack the same collagen density as leather, they offer a vegan-friendly alternative with excellent water resistance. You will also need a bone folder for crisp creases and a burnishing tool made of dense cocobolo wood to seal the edges of your Custom Leather Toiletry Bags. The friction from the wood generates heat, which fuses the leather fibers together at a molecular level, creating a waterproof barrier.
THE TEMPO
The "Maker's Rhythm" is a meditative state where the clock disappears, but for planning purposes, expect to invest about eight to ten hours into a single high-quality bag. The Preparation Phase takes two hours; this includes layout, clicking out the pieces, and skiving the edges to reduce bulk. The Assembly Phase is the heart of the project, requiring four to six hours of focused hand-stitching. Finally, the Finishing Phase takes two hours for edge painting, burnishing, and conditioning.
Leatherworking follows a non-linear timeline because of moisture equilibrium. If you are using edge paint, you must allow for specific drying windows between coats to prevent peeling. Rushing the process disrupts the capillary action required for dyes to penetrate the dermis of the hide. Respect the dry times, and the leather will reward you with a finish that feels like polished stone.
THE CORE METHOD
1. The Architectural Cut
Using your rotary cutter and a heavy steel square, cut your main body panels. Always align your longest cuts with the spine direction of the hide, as this area has the least amount of mechanical stretch. This ensures that your Custom Leather Toiletry Bags do not sag over time when filled with heavy grooming tools.
Mastery Tip: Leather is an anisotropic material, meaning its strength varies depending on the direction of the fibers. Cutting against the grain increases the risk of plastic deformation, where the bag permanently loses its intended silhouette.
2. Skiving for Seamless Transitions
Use a razor-sharp skiving knife to thin the edges of the leather where they will overlap. You want to reduce the thickness by half at the seams. This prevents the corners from becoming impossibly bulky, which would otherwise put too much stress on your needles and thread.
Mastery Tip: Skiving relies on shear strength. By reducing the cross-sectional area of the leather at the seam, you allow the fibers to nestle together, creating a mechanical bond that is actually stronger once the adhesive is applied.
3. Precision Punching
Lay out your stitch lines using a wing divider set to 4mm. Use a stitching chisel and a poly mallet to pierce the leather. Ensure the tool is perfectly vertical; even a slight tilt will result in a crooked stitch line on the interior of the bag, ruining the professional aesthetic.
Mastery Tip: The spacing between holes determines the stitch density. A higher density provides better structural integrity but can act like a perforated line on a notebook if the holes are too large, leading to a "tear-out" failure under high tension.
4. The Saddle Stitch Symphony
Thread two needles on a single length of waxed thread. Pass them through the same hole from opposite sides, creating a locking "X" pattern inside the leather. This is the gold standard for Custom Leather Toiletry Bags because if one thread breaks, the other remains locked in place, preventing the entire seam from unraveling.
Mastery Tip: Pull each stitch with consistent vector force. Uneven tension creates "puckering," where the leather bunches up, disrupting the smooth surface tension of the panel and creating gaps where moisture can enter.
5. Box Corner Engineering
To create the "spacious" volume, you must fold and stitch the bottom corners into a 3D shape. This involves a gusset fold that requires precise alignment. Use binder clips with scrap leather pads to hold the shape while you stitch, ensuring the corners are symmetrical.
Mastery Tip: This step utilizes geometric rigidity. By turning a 2D plane into a 3D box, you are using the leather's own stiffness to support the weight of the contents without needing an internal frame.
6. Hardware Integration
Install solid brass zippers and rivets. Use a hole punch to create a clean aperture, then set the rivets using a setter and anvil. The hardware should be tight enough that it cannot be rotated by hand, ensuring a permanent mechanical lock.
Mastery Tip: When setting rivets, you are causing work hardening in the metal. The impact of the mallet compresses the brass atoms, making the fastener harder and more resistant to the vibration and shocks of travel.
7. The Burnished Edge
Sand the edges with progressively finer grits, from 220 up to 1000. Apply a small amount of gum tragacanth or water, then rub vigorously with your wood burnisher until the edge turns dark and glossy.
Mastery Tip: This is a thermodynamic process. The heat from friction melts the natural waxes and lignins within the leather, fusing the loose fibers into a singular, hardened mass that resists fraying and moisture.
THE TECHNICAL LEDGER
Maintenance & Longevity: Leather is a biological material that requires hydration. Every six months, apply a neatsfoot oil or a high-quality beeswax cream. This keeps the fibers lubricated, preventing the "cracking" that occurs when the internal moisture drops below 10 percent.
Material Variations: For a more rugged look, use Crazy Horse leather, which is saturated with oils and waxes that create a "pull-up" effect when folded. For a sleek, modern finish, choose Saffiano leather, which features a cross-hatch wax coating for superior scratch resistance and easy cleaning.
The Correction:
- The Mistake: Misaligned stitch holes. The Fix: Use a tiny amount of leather glue to close the hole, then re-punch using a guide light to ensure vertical alignment.
- The Mistake: Thread fraying during stitching. The Fix: Your thread is too long; the friction of passing through the leather is wearing it down. Use shorter lengths and re-wax frequently.
- The Mistake: Uneven edge burnish. The Fix: You likely have "fuzz" from poor sanding. Go back to 400 grit sandpaper and ensure the edge is perfectly flat before applying more friction.
Studio Organization: Store your hides flat in a temperature-controlled environment. Exposure to UV light will cause photo-oxidation, fading the dyes and making the leather brittle. Keep your tools in a magnetic rack to prevent the delicate edges of your awls and knives from dulling against one another.
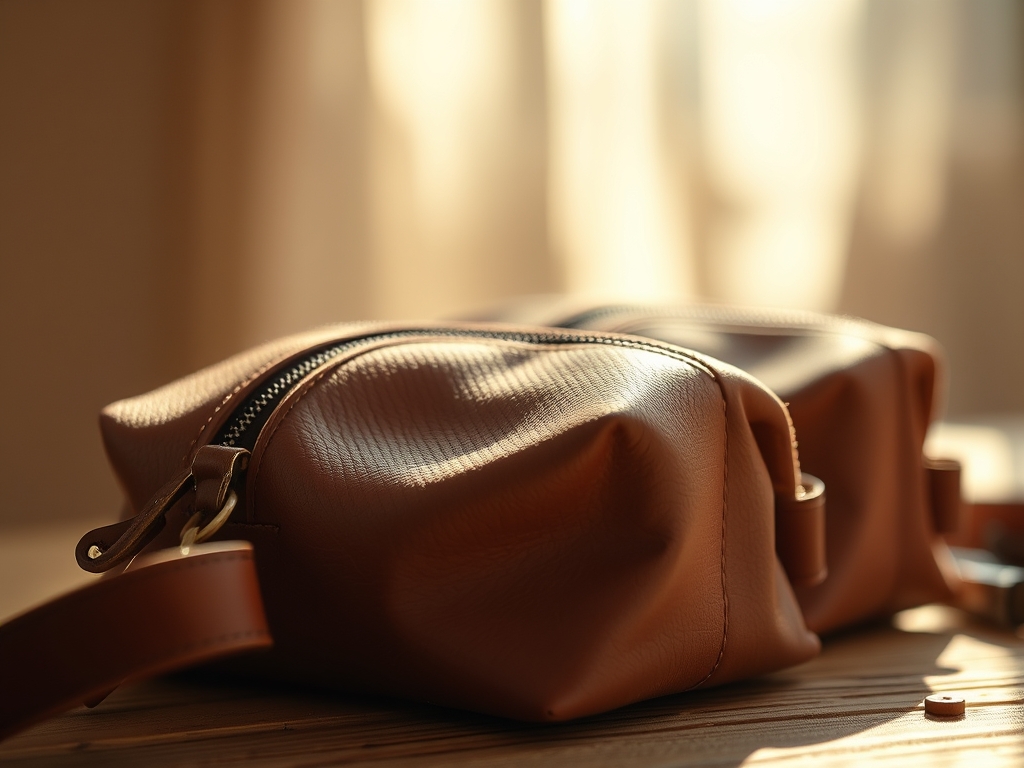
THE FINAL REVEAL
There is nothing quite like the moment you flip your bag right-side out and see the 3D form take shape. Your Custom Leather Toiletry Bags are now ready to hit the road. The hand-burnished edges glow with a professional sheen, and the saddle stitching stands out as a mark of true craftsmanship. This bag is a fortress for your essentials; it is a tactile reminder that in a world of disposable plastic, you chose to build something that lasts. Every scratch it picks up on your travels will tell a story, and every time you unzip it, you will feel the ghost of the effort you poured into its creation.
STUDIO QUESTIONS
What is the best leather thickness for a toiletry bag?
A thickness of 4 to 5 ounces (1.6 to 2.0 mm) is ideal. This provides enough structural integrity to stand upright while remaining flexible enough for the "turn-and-flip" construction method used in most spacious designs.
How do I make my leather bag waterproof?
While leather is naturally water-resistant, applying a fluorocarbon-based spray or a heavy beeswax finish creates a hydrophobic barrier. This prevents water from penetrating the porous grain and causing mold or salt staining during humid bathroom use.
Can I sew custom leather toiletry bags on a home machine?
Most home machines struggle with the piercing force required for 5-ounce leather. You would need an industrial walking-foot machine. Hand-stitching with a saddle stitch remains the most durable and accessible method for hobbyists.
Why is my leather stiff after it gets wet?
When leather dries too quickly, the internal oils evaporate with the water, causing the collagen fibers to stick together. To fix this, apply a leather conditioner while the material is slightly damp to restore flexibility and softness.

